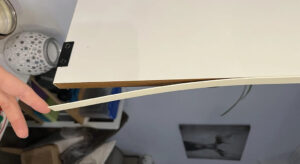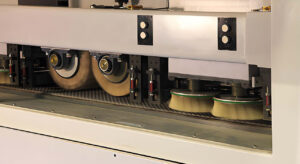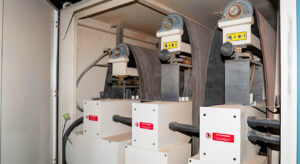

Sliding Table Saw is one of the most important furniture cutting machines in woodworking. It delivers precise panel cutting, improves productivity, and increases safety.
However, even the best machine loses accuracy without proper maintenance.
This guide answers the most common sliding table saw maintenance questions. It covers cleaning, lubrication, blade care, calibration, troubleshooting, and preventive maintenance schedules.
1. Understanding the Components
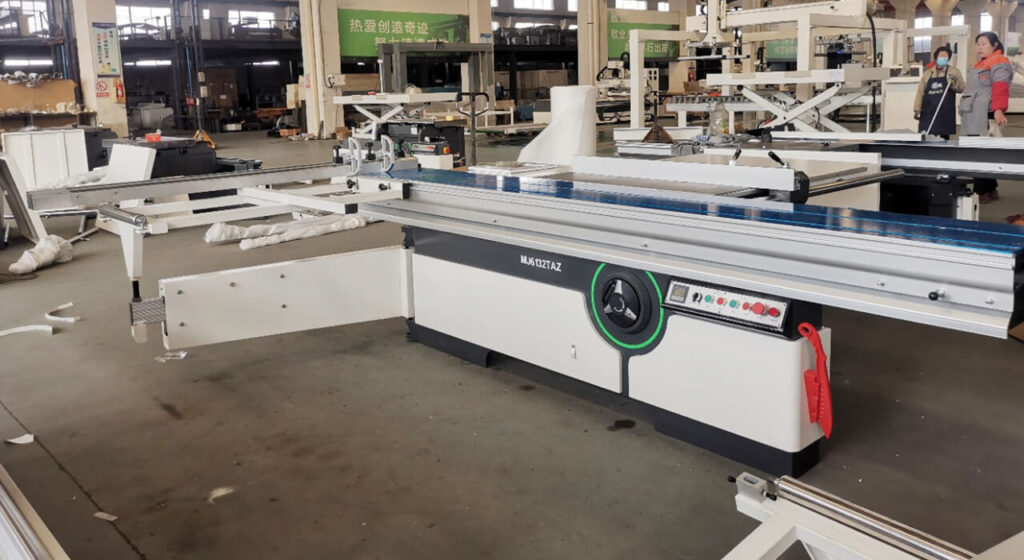
1.1. Main Parts of a Sliding Table Saw
A sliding table saw comprises several vital components, including the blade, sliding table, guide rails, and fence. Each part plays a crucial role in the machine’s overall functionality.
1.2. How Each Component Affects Performance
Understanding how these components interact helps woodworkers identify areas needing attention. For instance, a misaligned blade can lead to inaccurate cuts, affecting the quality of the finished product.
2. Key Maintenance Steps
2.1. Master Sliding Table Alignment & Geometry
2.1.1. Establishing the Base Geometry
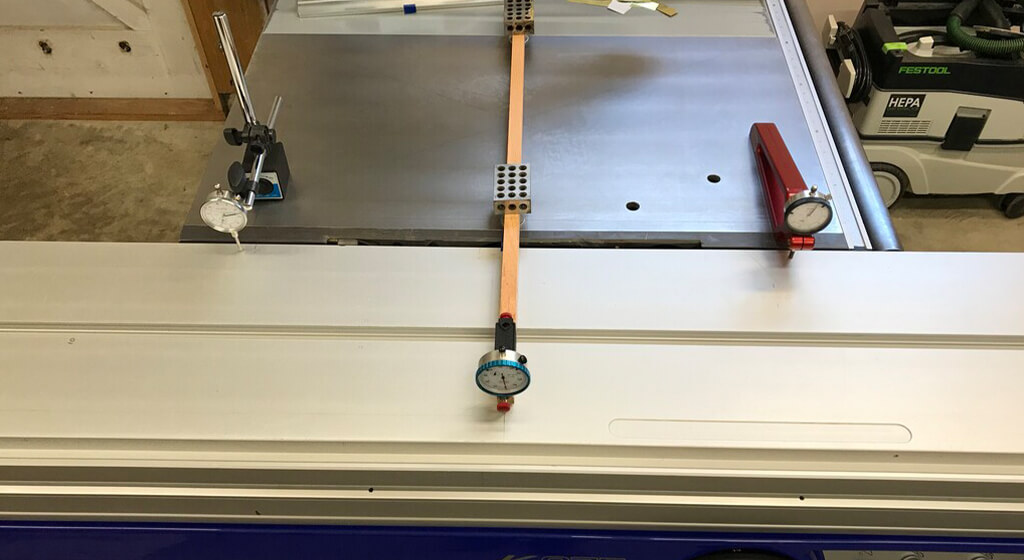
The sliding table must move perfectly straight relative to the main blade. This relationship is called parallelism.
If the table drifts inward, the blade binds and burns wood. If it drifts outward, cuts become angled and inaccurate.
Before adjusting, clean the cast iron main table and the aluminum slider completely. Use a precise, certified straightedge to check the initial alignment first.
2.1.2. Understanding Necessary Table Elevation
The aluminum sliding table should never sit perfectly flat with the cast iron. It must sit exactly 0.1 mm to 0.2 mm higher.
This tiny step prevents heavy panels from dragging against the cast iron surface. If the slider sits too low, material catches on the cast edge.
That catch ruins your cutting momentum and causes jagged edge defects. Use a dial indicator to verify this elevation along the entire stroke.
2.1.3. Setting Correct Blade Toe-Out Clearance
A sliding saw requires a tiny amount of blade toe-out clearance. The back of the blade must lead away from the slider slightly.
This clearance is usually around 0.05 mm across the blade diameter. This prevents the rising rear teeth from touching the freshly cut wood.
Without toe-out, the rear teeth cause burn marks and dangerous panel lift. Adjust the main trunnion bolts slowly until this clearance is perfectly achieved.
2.1.4. Squaring the Crosscut Fence with the 5-Cut Method
Never trust a standard square to set your massive crosscut outrigger fence. Use the industry-standard 5-cut method on a square test panel instead.
Cut all four sides of a large square board in a clockwise rotation. On the fifth cut, slice a thin strip from the first edge.
Measure the top and bottom widths of this offcut strip using calipers.
Error Per Inch = ((Width A – Width B) / 4) / Length of Offcut
2.2. Rail Maintenance
2.2.1. The Dangers of Sawdust Contamination
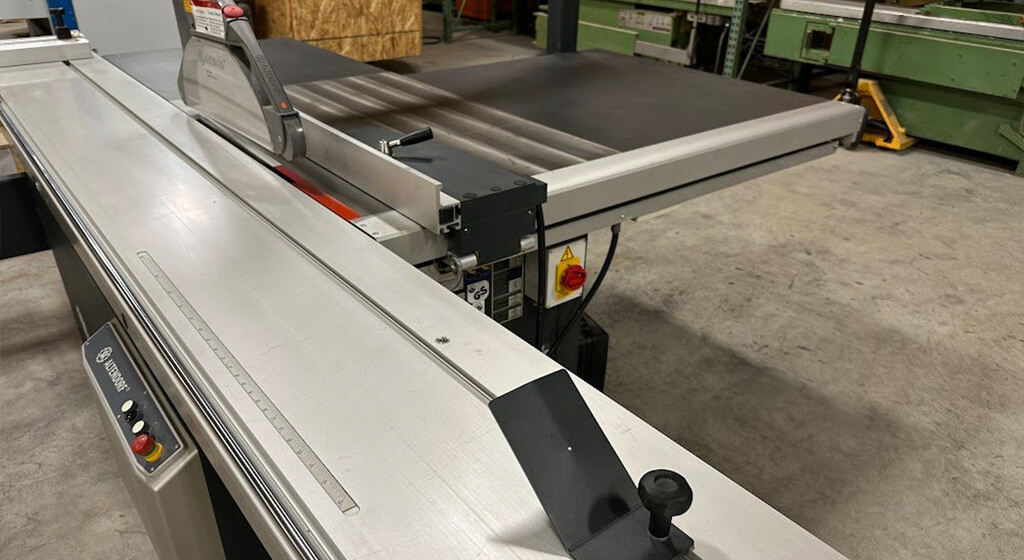
Sliding tables run on precision steel ball bearings and hard ground ways. Fine MDF and plywood dust easily bypass basic rubber wiper seals over time.
This dust mixes with oil, creating a sticky, abrasive grinding paste. This paste destroys smooth travel and leaves flat spots on bearings.
Clean the rails daily to prevent expensive structural damage to your guide system.
2.2.2. Cleaning Deep Pitch and Resin Buildup
Wood resin and pitch bond firmly to steel tracks under high pressure. This buildup creates small bumps you can feel when pushing the table.
Do not scrape rails with steel scrapers, as scratches ruin accuracy. Spray the tracks with dedicated pitch remover or industrial isopropyl alcohol instead.
Wipe the softened debris away using a non-abrasive nylon scrubbing pad.
2.3. Lubrication
2.3.1. Best Practices for Lubricating Moving Parts
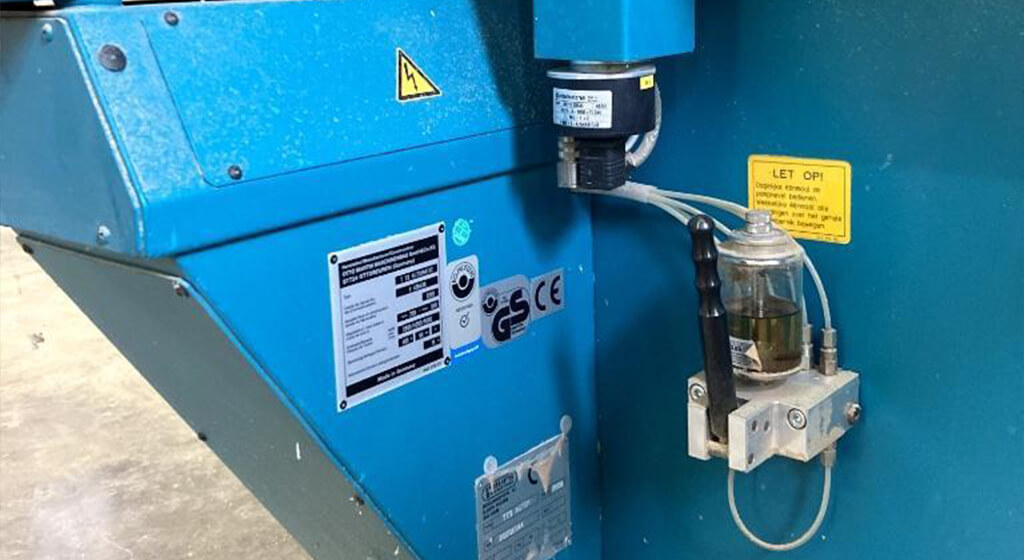
Lubrication is vital for reducing friction between moving parts. It’s crucial to identify all lubrication points and apply the appropriate lubricant regularly.
2.3.2. Types of Lubricants to Use
Never use standard oil, grease, or WD-40 on your sliding table rails. Wet lubricants attract airborne wood dust like a magnet, accelerating rail wear.
Apply high-quality dry lubricants like Bostik GlideCote or dry PTFE spray instead. These formulas leave a slick, micro-thin barrier that repels wood dust.
Slide the table fully back and forth to distribute the coating evenly.
2.4. Scoring Blade Calibration & Vibration Control
2.4.1. Eliminating Melamine Bottom Chip-Out
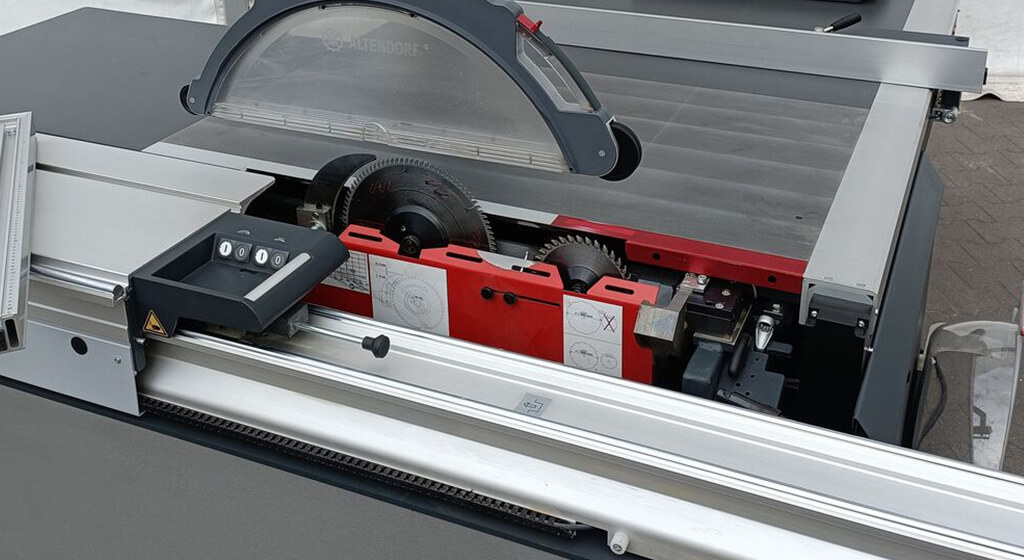
The small scoring blade spins rapidly in reverse ahead of the main blade. Its single job is cutting a shallow groove through brittle laminate faces.
This clean groove prevents the large main blade teeth from chipping the bottom. If panels show bottom chip-out, your scoring blade is dull or low.
Raise or sharpen the scoring blade immediately to restore clean, chip-free cuts.
2.4.2. Perfecting Axis Alignment
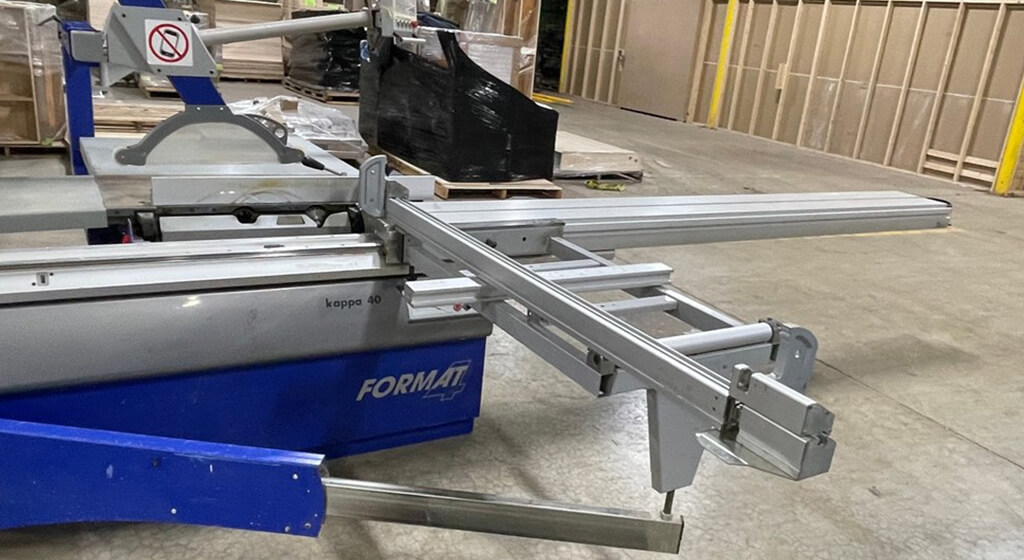
The scoring blade track must center perfectly with the main saw blade thickness. If misaligned, the cut edge will show an uneven, stepped lip profile.
This lip ruins glue joints and prevents edge banding from sticking flat. Use the electronic micro-adjust dials to move the scoring blade left or right.
Make test cuts in scrap melamine until the transition feels perfectly seamless.
2.4.3. Shimming Stackable Scoring Systems
Adjustable scoring systems use thin metal shims to match main blade kerfs. As main blades get sharpened, their cutting width shrinks slightly over time.
You must change internal shim configurations to match this changing kerf width. Keep a precise log of shim thicknesses for every blade set.
Tighten the arbor nut to matching torque specifications to eliminate blade slippage.
2.4.4. Diagnosing Scoring Arbor Vibration
High-frequency vibration in the scoring assembly destroys edge cut quality instantly. This vibration is usually caused by wood dust inside the arbor flange.
Remove the blade and inspect the mounting faces for trapped debris particles. Check the internal spindle bearings for roughness by spinning the arbor by hand.
Replace worn bearings immediately to maintain mirror-smooth panel edges across sheets.
2.5. Internal Trunnion & Bevel Mechanism Care
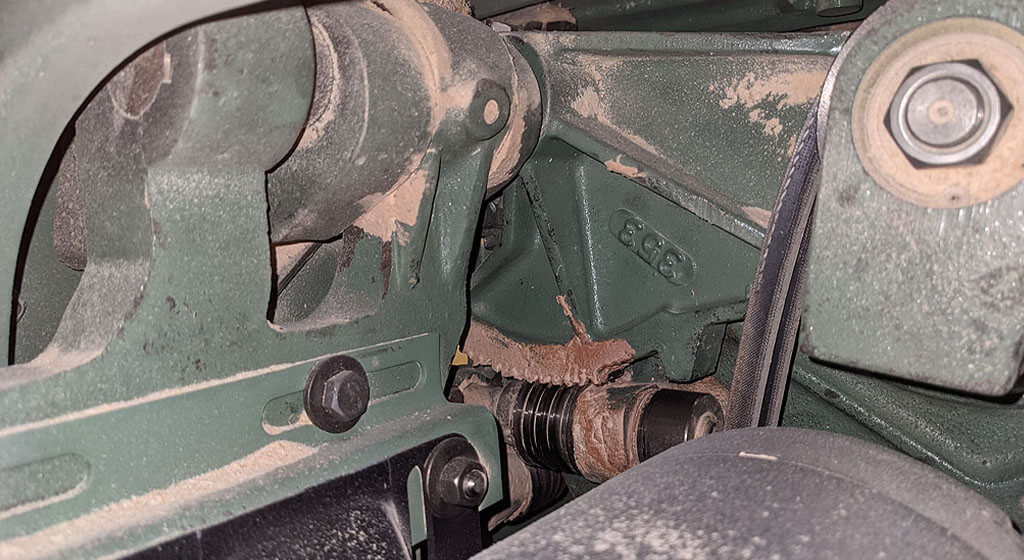
2.5.1. Clearing Hidden Internal Cabinets
Massive amounts of fine dust settle deep inside the main saw cabinet. This dust buries the heavy cast iron trunnions and bevel gears.
Over time, this accumulation packs tightly into the gear teeth paths. It makes tilting and lifting the heavy motor mount difficult for operators.
Open the side access panels weekly to clean these internal components thoroughly.
2.5.2. Cleaning Internal Worm Gears
Do not apply grease to internal worm gears and height lifting screws. Grease blends with falling sawdust, locking up the lifting mechanisms completely.
Blow out packed dust from gear teeth using high-pressure compressed air. Use a stiff brass wire brush to scrape away hardened resin deposits.
Apply a dedicated dry graphite spray to lubricate these hot moving parts.
2.5.3. Adjusting Bevel Stop Accuracy
The 90-degree and 45-degree mechanical bevel stops can shift from heavy vibration. Check these angles regularly using a precise digital protractor or square.
Tilt the blade fully until it hits the hard internal stop bolt. If the angle reads wrong, loosen the locknut on the stop bolt.
Turn the bolt until the blade reads true, then retighten firmly.
2.6. Rip Fence Parallelism & Safety Calibration
2.6.1. Preventing Dangerous Kickback Action
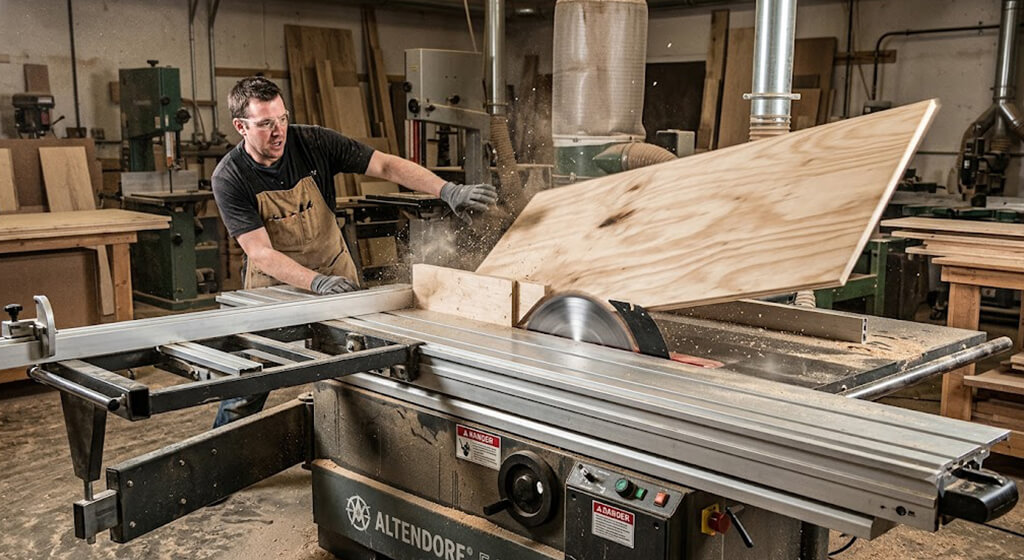
The right-side rip fence handles critical parallel cutting tasks alongside the slider. If the fence pinches inward at the back, wood gets trapped.
The spinning blade teeth will catch the trapped wood and launch it backward. This dangerous event is called kickback and causes severe operator injuries.
Calibrate your rip fence to avoid this danger and protect shop workers.
2.6.2. Setting Rip Fence Alignment
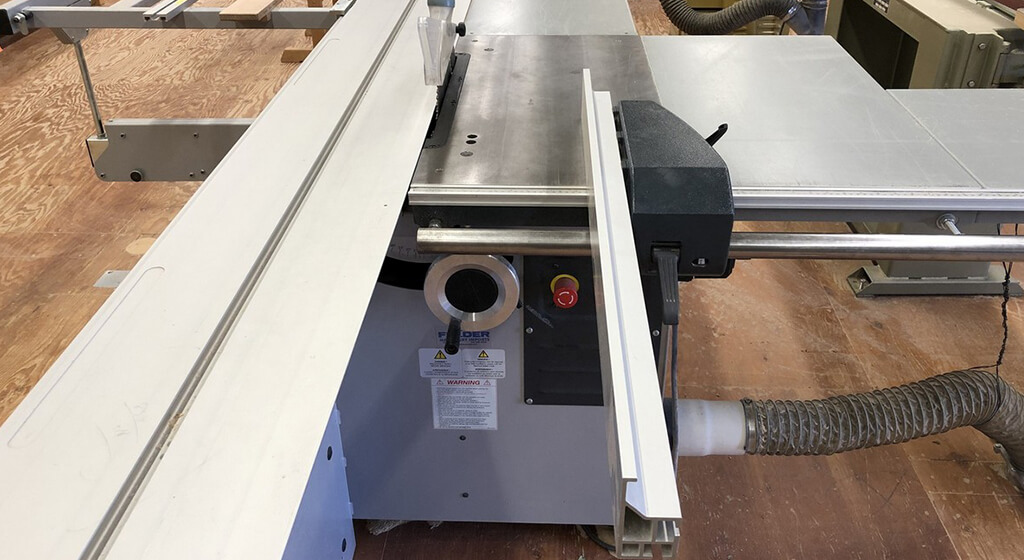
Align the rip fence to lead away from the blade slightly at the back. This gap should measure roughly 0.1 mm from front to rear.
This tiny relief space prevents the wood from binding against the rising teeth. Loosen the fence rail mounting bolts to adjust this critical safety clearance.
Lock the bolts down tightly and verify travel along the entire rail.
2.6.3. Calibrating Digital Readouts
Modern sliding saws feature digital readouts (DRO) on the rip fence system. These electronics provide fast accuracy but can drift over time from vibrations.
Test your digital readout accuracy daily by cutting a narrow test strip. Measure the cut strip with digital calipers to confirm the exact width.
Enter the calibration menu and adjust the display to match your calipers.
2.7. Cast Iron Maintenance & Machine Security
2.7.1. Preventing Rust and Surface Pitting
Raw cast iron tops absorb humidity from surrounding shop air very quickly. This moisture causes red rust that stains and pits the polished surfaces.
Pitted surfaces increase friction, making material handling difficult and tiring for operators. Wipe the table down daily using a light rust-preventative oil spray.
Apply high-grade paste wax monthly to create a smooth, slick moisture barrier.
2.7.2. Checking Foundation Leveling
A heavy sliding saw must sit perfectly level on your shop floor. Floor shifting or machine vibrations can cause the solid steel frame to twist.
This frame twist introduces micro-bends into the sensitive aluminum slide tracks. Check the machine level monthly using a high-precision machinist’s spirit level.
Adjust the heavy threaded leveling feet until the bubble centers perfectly across axes.
2.8. Inspecting Belts and Chains
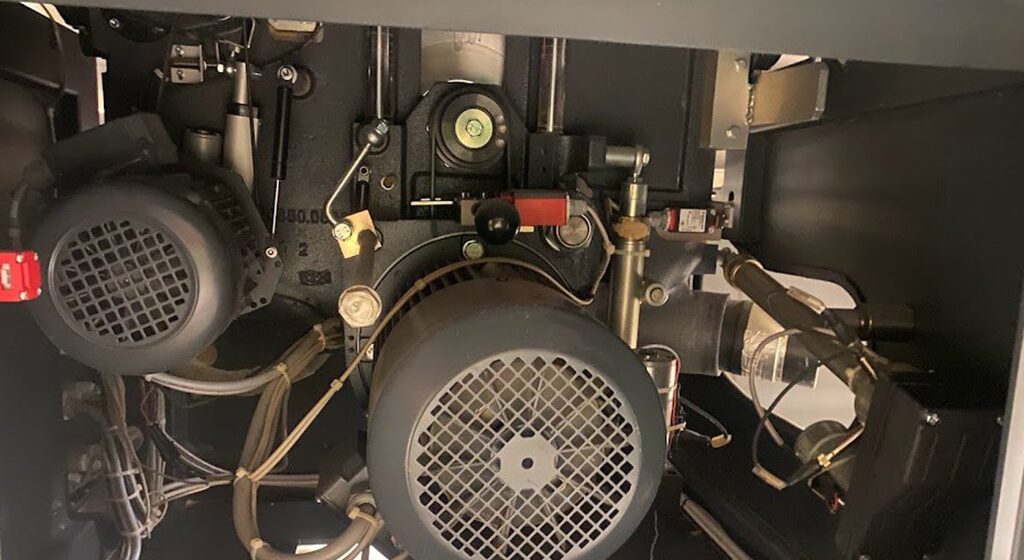
Modern saws use multiple V-belts or ribbed belts to transfer motor power. Loose or worn drive belts slip under heavy sheet feeding loads.
This slippage causes the blade speed to drop, creating bad edge burns. Inspect belts monthly for cracks, fraying edges, or signs of dry rot.
Adjust motor mounting plate tension bolts to maintain correct factory belt deflection.
2.9. Electrical Components
2.9.1. Electrical Safety
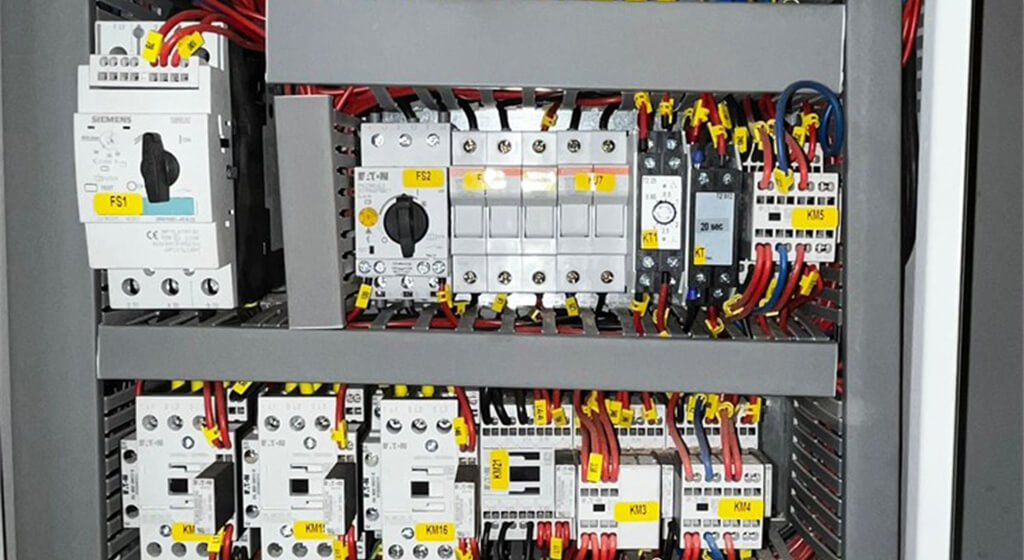
Electrical components are crucial for the saw’s operation. Regularly inspect wiring and connections to ensure they are in good condition.
2.9.2. Routine Checks for Electrical Issues
Conduct thorough checks to identify any potential electrical issues. This proactive approach can prevent costly repairs and enhance safety.
2.10. Safety Features
2.10.1. Importance of Functional Safety Features
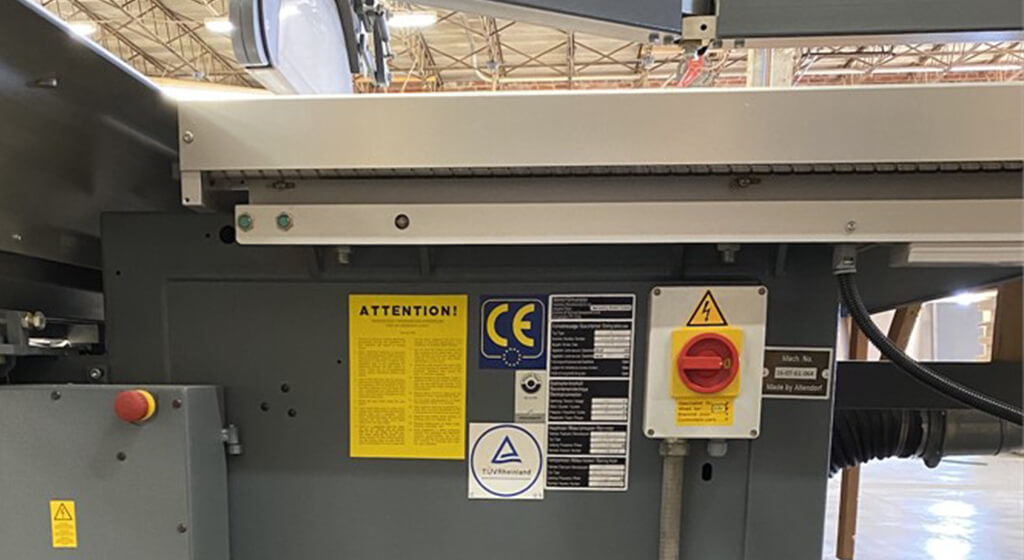
Safety features, such as emergency stops and blade guards, are essential for safe operation. Regularly verify that these features function correctly.
2.10.2. Regular Testing of Safety Mechanisms
Routine testing of safety mechanisms ensures they will operate effectively in an emergency. This practice significantly enhances workshop safety.
3. Seasonal Maintenance Checklist
3.1. Winter Preparation Tips
Before winter comes, ensure all moving parts are well-lubricated. Use the appropriate lubricant recommended by the manufacturer.
It can help reduce friction and keeps your machines running smoothly throughout the season.
3.2. Summer Maintenance Practices
In the summer, check for dust accumulation more frequently, as increased humidity can exacerbate rust issues.
4. The Role of Professional Maintenance Services
4.1. Benefits of Professional Inspections
Regular inspections by a professional service are essential for keeping your woodworking machines in top condition.
Professionals have the training and experience to spot maintenance issues that you might miss. They can identify problems before they become serious, saving you time and money.
4.2. Choosing a Reliable Maintenance Partner
Select a maintenance partner with a proven track record in woodworking machinery service to ensure your equipment receives expert care.
5. Conclusion
In conclusion, it is essential to regularly maintain your Sliding Table Saw to achieve the precision and quality you need in woodworking.
By following the above steps, you can keep your equipment in excellent condition. It not only promotes a safe working environment but also boosts productivity in your workshop.